It’s been several months of silence on my end here. That’s no way to launch a blog and build a regular audience but the silence was….necessary. I will save the details of my deafening and overwhelming anxiety and the battle against panic attacks for another post, but for those of you who know of my struggle with the b**** that is panic disorder, you know full well I go through occasional downward spirals. Needless to say the last few months has been one long dizzying twisted spiral.
Of the many things I use to either cope with or completely ignore the constant feelings of impeding doom, crafting is one that comes and goes. Recently, I have been on a crafting kick and I think I’d like to share some projects with you all here! There will be some project/Pinterest fails, (one coming at you very soon!) as well as some original ideas of me keeping myself busy during peanut’s nap time and particularly hot summer days. Though summer is coming to a close, I have many fun things to share from our amazing family trip to Mexico and Alice’s second birthday festivities, as well as the crafty endeavors for autumn decorations around the house; stay tuned.
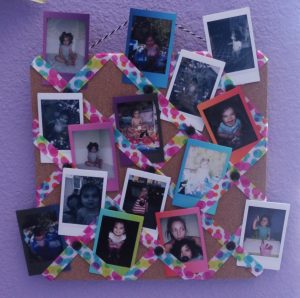
A simple and quick project I’d like to share is a decorated photo board! A dear friend had gifted me a Fujifilm Instax Mini camera last year and after 9 months, I finally unpacked it. Let me tell you – either the cuteness of the photos I take of Alice, or the nostalgia of the Polaroid reminiscent of my childhood, but something has me completely obsessed with the photos! I have a stack of them and had no place to store or creatively display them. Thus was born an idea: a college-dorm-esque display board made of a simple cork board, some ribbon, and hot glue. So, crafty mamas, grab your materials and make something bright and delightfully cute! Materials, directions, and pics bellow:
 Materials:
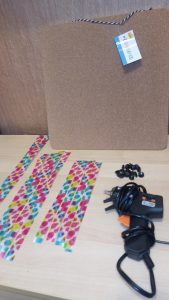
– Cork board – 11″x11″ (Target dollar bins)
– Ribbon – 2 pieces 16.5″ long, 4 pieces 11.5″ long, 4 pieces 8″ long. I used a bright, 1/2″ ribbon from Wal-Mart
– Black thumbtacks
– Hot glue gun
I will say the measurements and placement of ribbon were estimates, I eyeballed what I thought looked best and cut…and then measured afterwards. (I know, not very crafty-professional of me). But the cork board I used is quite thick and thus needed enough ribbon to rap around and glue to the back.
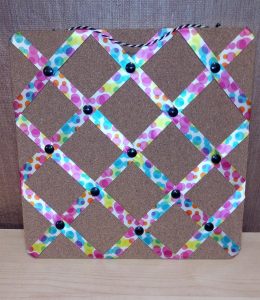
I began by placing the two longest pieces diagonally on the front of the board and securing them in place at both ends on the back. Word of caution: thin ribbon + hot glue = blistered finger tips for Yana. So, I would recommend having some other tool that you could utilize to press the ribbon down into the hot glue. I used a metal ruler which allowed me to not only press down effectively but also to scrape away excess glue to make things a bit more neat. Once secured, I placed a black thumbtack in the very center – I found the 3D thumbtacks added a nice little visual detail as well as helped keep the ribbons in place without having to glue the intersections onto the cork board.
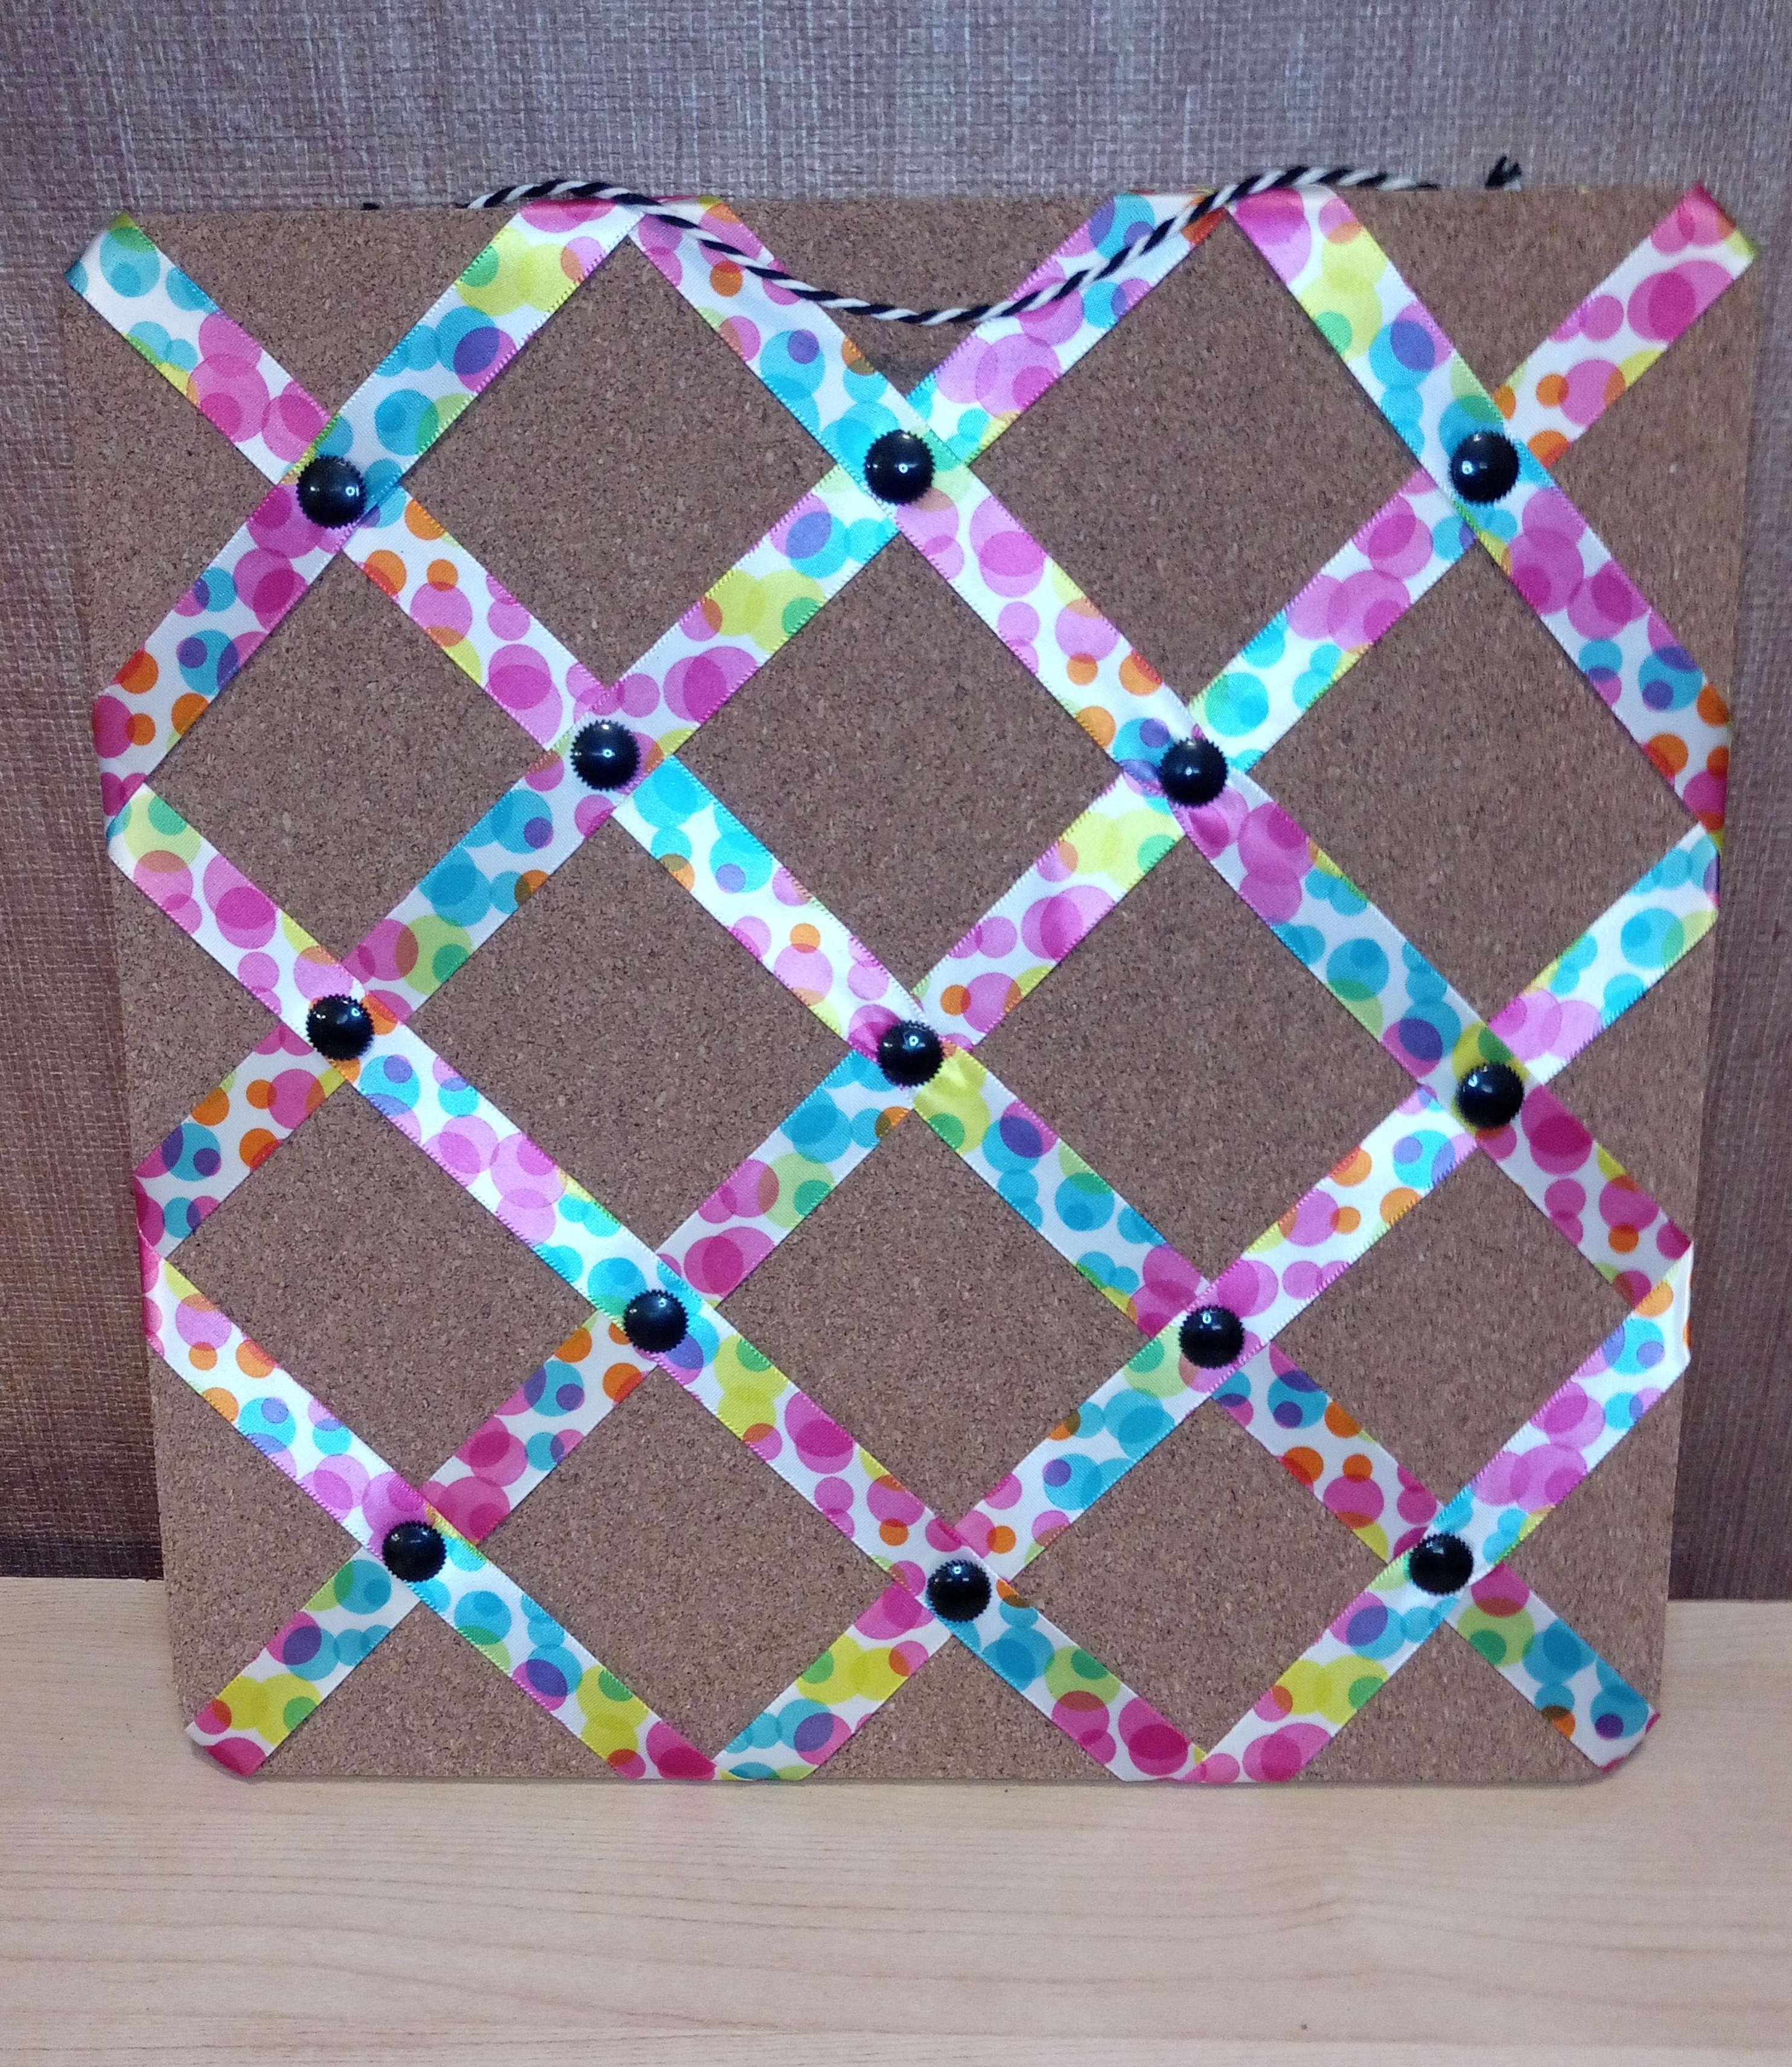
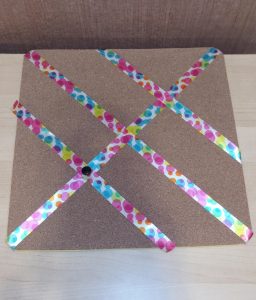 I then proceeded to place the 11.5in and adjust to make it as visually pleasing as possible (incredibly precise measurement system I’ve got there… my guess – about one and a half – two inches from the center ribbon). Again, secured the corners on the back side of the board and continued to add ribbon pieces in such manner. For all subsequent pieces, I placed the thumb tacks onto the ribbon to keep it in place while I flipped and glued the back. After adding all four 11.5″ ribbons, I finally added in the 8″ ones and thumb tacks, and voila. The whole project took maybe 12-15 minutes and came out quite cure.
Side note: I personally really like the addition of the black on top of the bright colored ribbon. However, if you decide black is not for you or there are no thumbtack designs you like, another option would be to place a very small dollop of hot glue onto the ribbon overlaps and then glue a bead or a craft embellishment on top of the ribbon to fit your decorative tastes. This board does not necessarily have to be used for photos – keeping important business cards organized and easily accessible could be great, or writing little reminder notes or shopping lists and keeping them on the board until you are ready to shop. You could also adhere some small magnets to the back of the board and place it on your refrigerator to help organize the often chaotic amount of receipts, cards, pictures, and grocery lists that tend to pile up.
Here is the finished product. Let me know what you think and happy crafting!